
By the HMNDP Editorial Team — independent reporting on lawn care, landscaping, water, and the green-industry business.
Last reviewed: June 2026
How to install artificial grass: the short version
To install artificial grass, excavate 3 to 4 inches of existing sod or dirt, build and compact a 3 to 4 inch crushed-rock base, lay geotextile weed fabric, roll out the turf with all blades facing one direction, cut and seam it, secure the edges with 60D galvanized nails, then spread silica sand infill and power-broom the fibers upright. Base preparation, not the turf itself, decides whether the surface stays flat.
A clean 300 to 500 square foot self-install runs most homeowners a weekend and $5 to $12 per square foot in materials. The same job installed by a pro typically lands between $12 and $20 per square foot. The steps below give quantities so you can build a shopping list before you rent a compactor.
Tools and materials checklist (with quantities)
The single biggest gap in most guides is quantities. Use the table below to size your order, then multiply by your area. Buy 5 to 10 percent extra turf and infill for waste and settling. Numbers assume a 3 to 4 inch base depth over soil.
| Item | Purpose | Quantity per 100 sq ft |
|---|---|---|
| Crushed rock / Class II road base (or paver base) | Compacted sub-surface | ~1.25 tons, or 40 to 50 bags (0.5 cu ft) at 3 to 4 in deep |
| Geotextile weed barrier fabric | Blocks weeds, separates base from turf | 100 sq ft plus 6 in overlap on seams |
| Artificial turf roll | The surface | 100 sq ft plus 5 to 10% for cuts and grain matching |
| 60D (6 in) galvanized nails or turf spikes | Perimeter and field anchoring | 150 to 200 nails |
| Silica sand infill (or antimicrobial infill for pets) | Weighs turf, keeps fibers upright | 100 to 200 lbs (1 to 2 lbs per sq ft) |
| Seam tape and outdoor seam adhesive | Joins multiple rolls | Tape per linear foot of seam; 1 adhesive tube per 15 to 20 linear ft |
Tools: a plate compactor (rent for $60 to $100 per day), a sod cutter or flat shovel, a carpet or utility knife with spare blades, a stiff-bristle push broom or power broom, a landscape rake, a hammer or rubber mallet, and a wheelbarrow. A drop spreader helps meter infill evenly.
Step 1: Base preparation, the step that decides everything
Base preparation is the first and most important step, because artificial grass copies the shape of whatever sits under it. A weak or uneven base shows up as ripples, dips, and lifting edges within one season. Plan for a total base depth of 4 to 6 inches from original grade, most of it compacted aggregate.
- Excavate 2 to 4 inches of existing sod, soil, or loose dirt across the whole area with a sod cutter or shovel. Remove roots and debris.
- Cap, remove, or reroute sprinklers. Turn off the zone, then cap the lines below grade before you cover them. Digging up a live head after the turf is down means cutting the finished surface.
- Add 3 to 4 inches of crushed rock or Class II road base in lifts of about 1.5 inches, wetting each lift lightly.
- Grade for slope. Pitch the surface roughly 1 to 2 percent (about a quarter inch per foot) away from buildings so water drains.
- Compact with a plate compactor until the base is firm and holds a footprint without shifting. A compacted base is what makes the whole surface stable.
- Lay geotextile weed barrier over the compacted base, overlapping seams 6 inches. The fabric blocks weeds while still letting water pass through.
Drainage matters as much as flatness. Crushed rock and permeable turf backing let water move straight down through the base, so avoid fine, non-draining fill like plain masonry sand under the aggregate.
Step 2: Roll out, position, and cut the turf
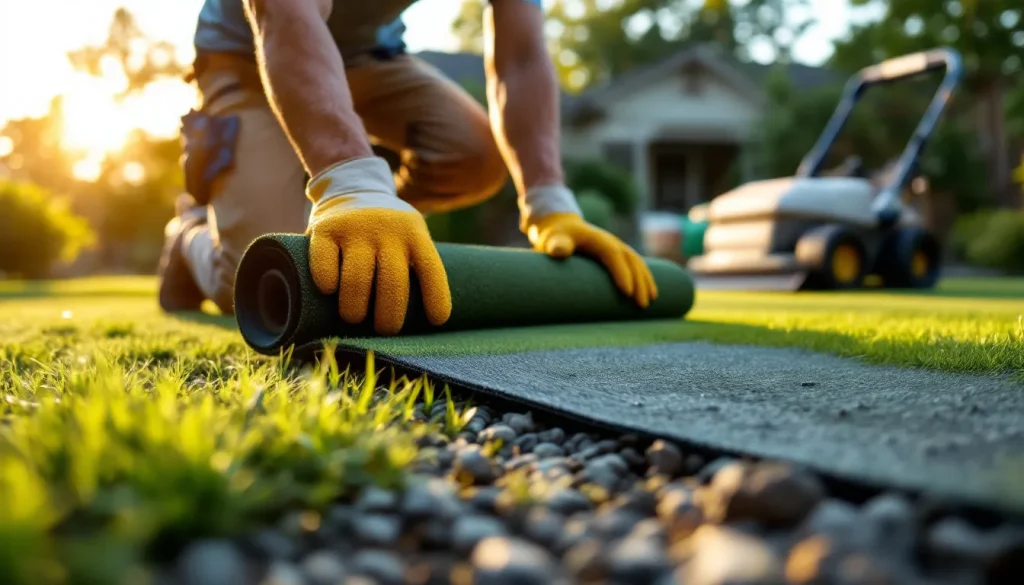
Let the turf acclimate before you commit to cuts. Unroll it in the sun for 2 to 3 hours (or overnight in cool weather) so the backing relaxes and creases fall out. Position every roll with the blades, or grain, facing the same direction, usually toward the main viewing spot like a patio or door.
Rough-position the turf, then cut it to the shape of the area from the back using a utility knife, slicing between the stitch rows to avoid shredding blades. Leave an inch of extra material at edges and trim it flush against borders once the fit is confirmed. Matching grain direction across pieces is what keeps the finished lawn from looking two-toned.
Step 3: Seam multiple rolls together
Seaming joins two turf pieces into one continuous surface. Butt the two edges together, fold both back, and run seam tape (shiny side down) centered under the joint. Apply a zigzag bead of outdoor seam adhesive, then fold the turf down onto the tape with blades pulled up out of the glue line.
Press along the seam and weight it while the adhesive cures, usually a few hours. Keep the two edges tight but not overlapping. A tidy seam is invisible once infill is brushed in; a rushed one shows a bald line for the life of the lawn.
Step 4: Secure the perimeter so edges never lift
Anchor the edges before infill goes down. Drive 60D galvanized nails or turf spikes around the entire perimeter every 3 to 4 inches, and across the interior field every 12 to 24 inches. Keep nail heads flush and fibers pulled free so they do not dimple the surface.
Lifting edges are the most common DIY failure, and they come from too few nails or nailing into soft, uncompacted base. If a nail sinks with no resistance, your base needs more compaction at that spot. For a 500 square foot lawn, plan on roughly 700 to 900 nails total.
Step 5: Apply infill and brush the fibers upright
Infill is silica sand (or antimicrobial infill for pet areas) spread across the turf at 1 to 2 pounds per square foot. It weighs the turf down, protects the backing from UV, keeps blades standing, and helps drainage. Spread it in two or three passes with a drop spreader, brushing between passes.
Power-broom or stiff-broom against the grain to lift the fibers and work sand to the base of the blades. Pet owners often choose an antimicrobial-coated infill (such as zeolite-based products) to neutralize urine odor. Skipping infill leaves fibers matted and flat within weeks.
Surface-specific method: soil vs. concrete
Installing over dirt and installing over a hard surface are not the same job, and most guides ignore the difference. On soil you excavate and build a base; on concrete you usually skip excavation entirely and rely on the existing slab plus a thin cushioning layer.
| Factor | Over dirt or soil | Over concrete or hard surface |
|---|---|---|
| Excavation | Remove 2 to 4 in of sod/soil | None; clean the slab |
| Base layer | 3 to 4 in compacted crushed rock | Optional 10 to 12 mm foam underlay for cushioning |
| Weed barrier | Yes, over compacted base | Not needed |
| Drainage | Through base into soil | Slab must slope; drill 16 mm drainage holes if flat and pooling |
| Anchoring | 60D nails into base | Perimeter adhesive or masonry-safe pins; nails will not hold |
On a flat, non-draining slab like an old patio, water has nowhere to go, so drilling drainage holes on low points and adding a permeable foam pad prevents standing water and smell. This is also where many homeowners bring in a pro; see how HMNDP frames a full artificial turf installation service for hard-surface jobs.
DIY vs. pro cost breakdown
Cost is missing from nearly every install guide. A DIY artificial grass install runs about $5 to $12 per square foot in materials and rentals. A professional install typically runs $12 to $20 per square foot because labor and grading add $6 to $10. The line items below show where the money goes.
| Line item | DIY cost per sq ft |
|---|---|
| Artificial turf material | $2.00 to $7.00 |
| Base aggregate and weed fabric | $0.50 to $1.50 |
| Silica sand or pet infill | $0.30 to $0.60 |
| Nails, seam tape, adhesive | $0.20 to $0.50 |
| Plate compactor rental (spread over area) | $0.15 to $0.40 |
| Typical DIY total | $5 to $12 |
DIY makes the most sense on simple rectangles under 500 square feet with easy access. For large, sloped, or oddly shaped yards, the labor savings shrink fast. If you are weighing quotes, our guide to choosing an artificial turf company and the overview of professional artificial grass installation explain what a fair bid should include.
Mistakes to avoid and how long turf lasts
Most artificial grass problems trace back to a thin base, too few nails, or skipped infill, not the turf itself. Quality turf on a properly compacted base lasts 15 to 20 years. Cutting corners on preparation often shows up as ripples and lifting within the first year.
- Under-compacting the base. One pass is not enough; compact in lifts until firm.
- Ignoring slope. No pitch means standing water and, on pet turf, odor.
- Mixing grain directions. Adjacent pieces facing different ways look mismatched in sunlight.
- Skimping on infill. Under-filled turf mats down and wears at traffic lines.
- Nailing into soft ground. Anchors pull out and edges curl.
If you are still deciding between synthetic turf and a live lawn, compare the timelines: turf is walkable the day it is finished, while growing natural grass from seed can take weeks to establish and years to fill in.
Frequently Asked Questions
How much does it cost to install artificial grass yourself vs. hiring a pro?
A DIY artificial grass install typically costs $5 to $12 per square foot in materials and tool rentals, while a professional install runs about $12 to $20 per square foot. The difference is mostly labor and grading, roughly $6 to $10 per square foot. DIY saves the most on simple rectangles under 500 square feet with good access.
How do you install artificial grass on dirt or soil?
Excavate 2 to 4 inches of sod and soil, cap any sprinklers, then build and compact a 3 to 4 inch crushed-rock base graded for a 1 to 2 percent slope. Add geotextile weed fabric, roll out the turf with matched grain, cut and seam it, secure edges with 60D nails, then spread and brush in silica sand infill.
Can you lay artificial grass directly on concrete or a hard surface?
Yes. Skip excavation, clean the slab, and add an optional 10 to 12 mm foam underlay for cushioning. Because a slab does not drain like soil, confirm it slopes, and drill 16 mm drainage holes at low points if water pools. Anchor with perimeter adhesive or masonry-safe pins, since nails will not hold in concrete.
What base do you need under artificial turf and how deep should it be?
Use a compacted aggregate base of crushed rock, Class II road base, or paver base, laid 3 to 4 inches deep and compacted in lifts. Total base depth from original grade should reach 4 to 6 inches for a stable, well-draining sub-surface. Avoid fine, non-draining sand under the aggregate, which traps water.
Do you need infill (sand) on artificial grass, and how much?
Yes. Infill weighs the turf down, protects the backing from UV, keeps blades upright, and aids drainage. Apply silica sand at 1 to 2 pounds per square foot, spread in two or three passes and brushed between each. Pet areas often use antimicrobial, zeolite-based infill to control urine odor. Skipping infill leaves fibers matted within weeks.
How do you join two pieces of artificial grass together seamlessly?
Butt the two edges together with matched grain, fold them back, and center seam tape (shiny side down) under the joint. Apply a zigzag bead of outdoor seam adhesive, fold the turf onto the tape with blades pulled clear of the glue, then press and weight the seam until it cures. Brushed-in infill hides the line.
How do you secure artificial turf so the edges don’t lift?
Drive 60D galvanized nails or turf spikes around the full perimeter every 3 to 4 inches, and across the field every 12 to 24 inches, into a firmly compacted base. Keep heads flush and fibers pulled free. Lifting edges almost always mean too few nails or anchoring into soft, under-compacted ground.
What tools and materials do you need to install artificial grass?
Materials: crushed-rock base (~1.25 tons per 100 sq ft), geotextile weed fabric, the turf plus 5 to 10 percent waste, 150 to 200 60D nails per 100 sq ft, silica sand infill at 1 to 2 lbs per sq ft, and seam tape with adhesive. Tools: plate compactor, sod cutter, utility knife, stiff or power broom, rake, and mallet.