
By the HMNDP Editorial Team, independent reporting on lawn care, landscaping, fertilizer, and water.
Last reviewed: June 2026
What drip tape irrigation is and how it works
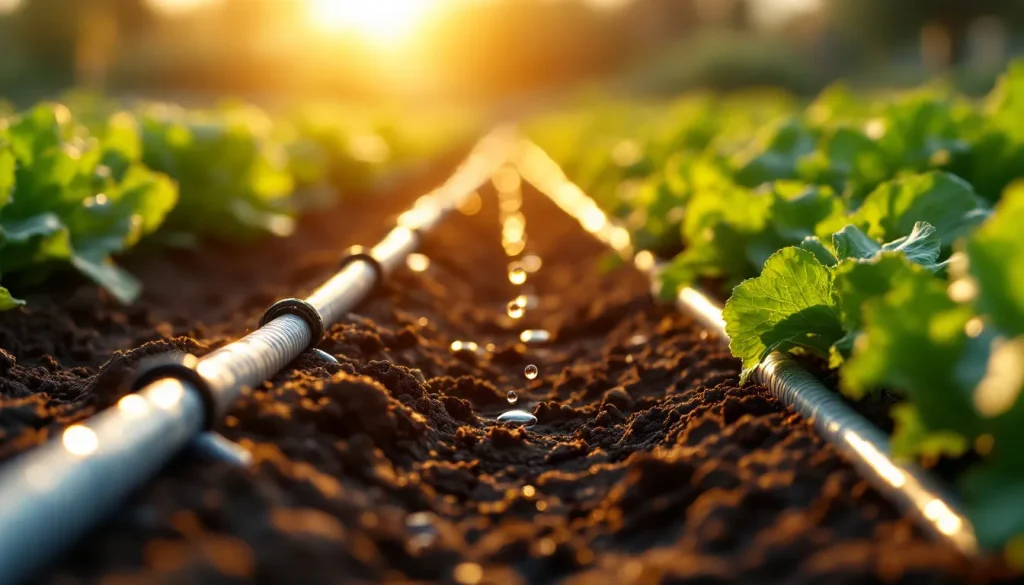
Drip tape irrigation is a system of thin-walled polyethylene tubing, flattened when empty, with emitters molded or welded along its inside seam that release water slowly at low pressure (typically 8 to 15 PSI). When water enters, the tape inflates round and drips at each emitter, wetting the root zone of a planted row.
It differs from rigid drip tubing. Drip tape walls run 6 to 15 mil thick (a mil is one-thousandth of an inch), so a roll is light, cheap, and disposable. Rigid dripline uses thick-walled tubing (often 0.5 to 1 mm) built to last many seasons and handle higher pressure.
Most vegetable growers buy 5/8 inch (about 16 mm) diameter tape, the standard size that fits common lay-flat headers and fittings. Water reaches the tape from a header line, passes through a filter and pressure regulator, and drips at each emitter along the run.
Drip tape vs drip line: which should you use
Drip tape is thin, low-cost emitter tape for straight annual rows, usually replaced every one to three seasons. Dripline (also called drip line) is thick-walled tubing with pressure-compensating emitters, meant for permanent beds, perennials, and uneven terrain. Choose tape for row crops on a budget; choose dripline for durability, long runs, and slopes.
| Factor | Drip tape | Dripline (rigid tubing) |
|---|---|---|
| Wall thickness | 6 to 15 mil | 0.5 to 1 mm (roughly 20 to 45 mil) |
| Lifespan | 1 to 3 seasons | 5 to 15 years |
| Cost per 100 ft | Low (a few dollars) | Higher (tens of dollars) |
| Pressure compensating | Rarely | Often |
| Best for | Straight annual vegetable rows | Perennials, slopes, permanent beds |
| Reuse | Limited, careful handling only | Designed for reuse |
For a broader comparison of methods, see our overview of a full drip irrigation system.
Mil thickness: a decision framework for buyers
Mil thickness (wall thickness) is the single spec that decides drip tape lifespan and price. Thinner tape (6 mil) costs least and suits one season of annual rows. Mid-weight tape (8 to 10 mil) survives light retrieval and reuse. Thick tape (12 to 15 mil) resists rodents and rough ground for multi-year permanent beds.
| Mil | Durability | Best use case |
|---|---|---|
| 6 mil | Single season, fragile | Annual rows, tilled and replaced yearly |
| 8 mil | 1 to 2 seasons | Home gardens, careful growers who want some reuse |
| 10 mil | 2 to 3 seasons | Market gardens, gravel or rocky soil |
| 12 to 15 mil | 3 or more seasons | Permanent beds, rodent pressure, buried or rough ground |
The rule of thumb: match mil to how many times the tape will be handled. Tape gets damaged during removal and re-lay, not during watering, so thicker walls pay off only if you plan to reuse or leave it in rough conditions.
Drip tape irrigation system design: spacing, flow, run length, pressure, filtration
System design ties four numbers together: emitter spacing, flow rate (GPM per 100 ft), maximum run length, and pressure. Get these right and every emitter drips evenly. Get them wrong and the far end of a long row runs dry. Below is the math the product pages leave out.
Emitter spacing
Emitter spacing is the distance between drip points along the tape, usually 4, 8, or 12 inches. Close spacing (4 to 8 inches) suits sandy soil and closely planted crops like carrots or lettuce. Wider spacing (12 inches) fits clay soil, which spreads water sideways, and spaced crops like tomatoes or peppers.
Flow rate and run length
Flow rate is water delivered per 100 feet of tape, commonly 0.15 to 0.6 GPM per 100 ft, printed on every roll. Higher flow empties your source faster and shortens the maximum run before pressure drops too far. Low-flow tape allows longer runs. As a working guide, low-flow tape (around 0.2 GPM per 100 ft) supports runs up to roughly 400 to 600 ft, while high-flow tape may max out near 200 to 300 ft.
Always confirm the maximum run length against the manufacturer chart for your exact tape, spacing, and slope. Running longer than rated starves the end emitters. Named products such as Toro Aqua-TraXX publish run-length charts by mil, flow, and inlet pressure.
Pressure and filtration
Drip tape runs at low pressure, typically 8 to 15 PSI, so a pressure regulator is not optional if your source exceeds that. House or well pressure of 40 to 60 PSI will split thin tape or blow fittings. Add a regulator rated for your GPM right after the valve.
Filtration prevents clogging, the top failure mode. Use a 120 to 200 mesh (about 75 to 125 micron) screen or disc filter sized to your flow. Well and pond water need finer filtration than treated municipal water. For emitter selection background, see our guide to drip irrigation emitters.
Pros and cons of drip tape irrigation
Drip tape saves water and labor and costs little upfront, but it clogs, tears, attracts rodents, and creates single-season plastic waste. It is the efficient, low-cost choice for straight annual rows, and a poor choice where you want a permanent, reuse-friendly, low-waste install. Weigh both sides against your crop plan.
| Pros | Cons |
|---|---|
| Uses up to 30 to 50 percent less water than sprinklers by wetting only the root zone | Emitters clog without good filtration, the most common failure |
| Low upfront cost per foot | Thin tape tears easily and rodents chew it for water |
| Keeps foliage dry, reducing fungal disease | 6 mil tape is often single-season, creating plastic disposal waste |
| Easy DIY layout on straight rows | Not ideal for slopes or curves without pressure-compensating design |
| Pairs with timers for hands-off watering | Reuse is limited and labor-intensive |
How much a drip tape irrigation system costs
Drip tape rolls span roughly $14 for a short home-garden roll to about $374 for a large commercial roll (several thousand feet of thick, low-flow tape). All-in-one drip tape kits for a vegetable garden typically run from $30 to $150 depending on row count and included parts. The tape itself is cheap; fittings, filter, and regulator drive the kit price.
| Item | Typical price range |
|---|---|
| Home-garden tape roll (a few hundred feet) | $14 to $40 |
| Commercial tape roll (thousands of feet) | $120 to $374 |
| All-in-one vegetable garden kit | $30 to $150 |
| Filter and pressure regulator | $15 to $60 |
Toro Aqua-TraXX (often written AquaTraxx) is a widely referenced tape brand, sold by roll spec. Suppliers such as IrrigationKing and various kit vendors stock tape, fittings, and complete kits. Kits suit first-time buyers who want matched components; buying by the component suits larger or custom layouts.
System components you need
A working drip tape system needs more than tape. Core parts are a header (lay-flat hose or PVC), tape-to-header connectors, a screen or disc filter, a pressure regulator, a valve, and end closures. Each row of tape taps the header through a fitting, and the header feeds from your filtered, regulated water source.
- Header line: lay-flat hose or PVC that carries water across the ends of your rows.
- Connectors and fittings: punch or barbed fittings joining each tape run to the header.
- Filter: 120 to 200 mesh screen or disc, sized to flow, to stop clogging.
- Pressure regulator: drops source pressure to the tape’s 8 to 15 PSI range.
- Valve and timer: for zoning and automatic scheduling.
- End caps or crimps: close the far end of each tape run.
To automate scheduling, pair the valve with a controller as described in our guide to an automatic plant watering system.
How to install drip tape in a vegetable garden (and its lifecycle)
Installing drip tape takes an afternoon for a home plot: lay the header, connect each row’s tape with emitters facing up, filter and regulate the water, flush, then test. At season end you flush, drain, and either store or dispose of the tape. Follow the ordered steps below.
- Lay the header (lay-flat hose or PVC) across one end of your rows, perpendicular to them.
- Roll out tape down each row, emitter seam or printing facing up, and cut to length.
- Punch the header and insert a connector for each tape run, then attach the tape.
- Install the filter, then the pressure regulator, between your water source and the header.
- Close each tape end with a crimp or end cap.
- Open the water, flush each line to clear debris, then cap and check every emitter for even drip.
- Add a timer or valve to zone and schedule watering.
For a wider parts-and-layout walkthrough, see our DIY drip irrigation guide.
Winterizing and removal matter for lifespan. Before frost, flush the lines, disconnect from the source, and drain fully so trapped water cannot freeze and split the tape. Thin 6 mil tape is usually pulled and disposed of yearly. Thicker 8 mil and up can be rolled carefully and stored dry, out of sunlight and away from rodents.
Reuse is possible but limited. Tape that stayed intact, was flushed clean, and was stored dry can run a second or third season, especially at 10 mil or more. Expect some emitter clogging and pinhole leaks on re-lay, and budget to replace a portion each year.
Frequently Asked Questions
What is drip tape irrigation and how does it work?
Drip tape irrigation is thin-walled polyethylene tape with emitters spaced along its seam that drip water at the root zone under low pressure (8 to 15 PSI). Empty, it lies flat; under water it inflates round and drips at each emitter. Water flows from a source through a filter and pressure regulator into a header, then into each tape run.
Drip tape vs drip line: which should I use?
Use drip tape for straight annual vegetable rows on a budget, replacing it every one to three seasons. Use dripline, the thick-walled rigid tubing with pressure-compensating emitters, for perennials, slopes, curves, and permanent beds you want to keep for 5 to 15 years. Tape wins on cost; dripline wins on durability, reuse, and performance on uneven ground.
What mil thickness of drip tape do I need?
Match mil to handling. Choose 6 mil for single-season annual rows you till in yearly. Choose 8 to 10 mil for home and market gardens where you want some reuse or face rocky soil. Choose 12 to 15 mil for permanent beds, rodent pressure, or rough ground where the tape stays multiple years. Thicker tape costs more but survives more removals.
What are the pros and cons of drip tape irrigation?
Pros: it can cut water use 30 to 50 percent versus sprinklers, costs little per foot, keeps foliage dry to limit disease, and is easy to lay on straight rows. Cons: emitters clog without good filtration, thin tape tears and attracts rodents, 6 mil tape is often single-season plastic waste, and it struggles on slopes and curves without pressure-compensating design.
How much does a drip tape irrigation system cost?
Tape rolls run from about $14 for a small home-garden roll to roughly $374 for a large commercial roll. All-in-one vegetable garden kits typically cost $30 to $150 depending on row count. A filter and pressure regulator add $15 to $60. The tape is the cheap part; fittings, filtration, and regulation drive most of the total.
How do you design a drip tape system (spacing, flow rate, run length, pressure)?
Pick emitter spacing by soil and crop (4 to 8 inches for sandy soil or close crops, 12 inches for clay or spaced crops). Read flow rate off the roll (0.15 to 0.6 GPM per 100 ft) and check the manufacturer chart for maximum run length. Regulate pressure to 8 to 15 PSI and filter to 120 to 200 mesh to prevent clogging.
How do you install drip tape in a vegetable garden?
Lay a header across one end of your rows, roll tape down each row with emitters facing up, and connect each run to the header with a punch fitting. Add a filter and pressure regulator between the source and header, cap each tape end, then flush and test every emitter for even drip. Add a timer to automate watering.
Can drip tape be reused for more than one season?
Sometimes. Tape that stayed intact, was flushed clean before storage, and kept dry and out of sunlight can run a second or third season, best at 10 mil or thicker. Thin 6 mil tape is usually single-season and disposed of yearly. Expect some emitter clogging and pinhole leaks on re-lay, and plan to replace a share of it each year.