By the HMNDP Editorial Team, independent reporting on lawn care, landscaping, water, and the green-industry business.
Last reviewed: June 2026
What a drip irrigation system is
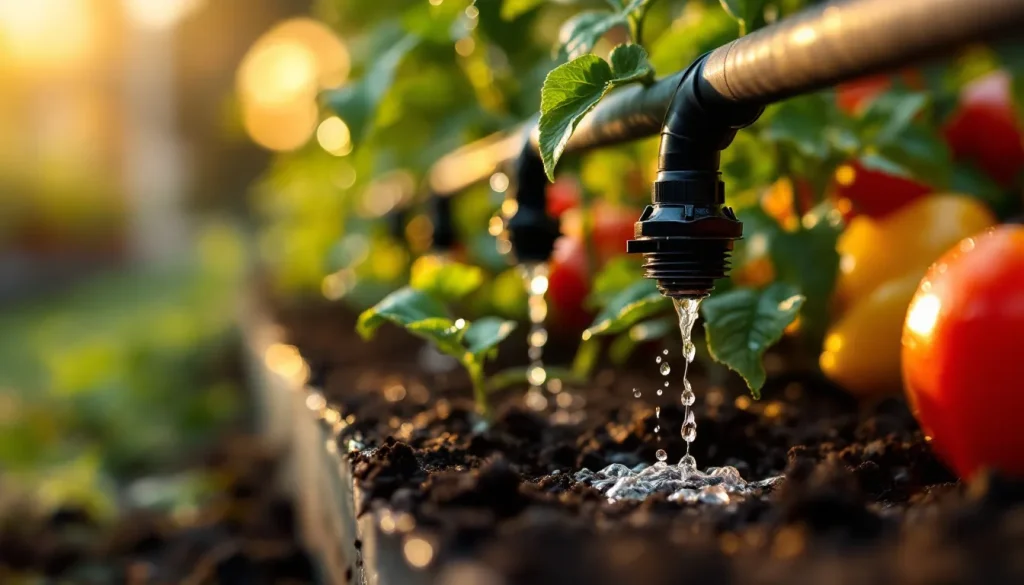
A drip irrigation system is a low-pressure, low-volume watering setup that delivers water slowly and directly to plant roots through a network of tubing and emitters, instead of spraying it across an area like a sprinkler. Water exits as drips, slow streams, or tiny sprays, typically at 0.5 to 4 gallons per hour (GPH) per emitter, so it soaks the root zone with almost no runoff or evaporation.
The approach was commercialized in Israel by Netafim in the 1960s and is now standard in vineyards, vegetable farms, and home gardens. Most home systems run at 10 to 30 PSI, far below the 40 to 60 PSI of a typical hose bib.
Because water moves slowly, a drip system trades speed for precision. You water more plants for longer, but you use far less water doing it.
How a drip irrigation system works
A drip system works by reducing your home water pressure, filtering the water, then routing it through tubing to emitters that meter out a fixed flow rate to each plant. The slow delivery (often 1 GPH) lets soil absorb every drop before it can puddle or run off, keeping moisture in the top 6 to 12 inches where most roots live.
Water travels from the hose bib through a backflow preventer, a pressure regulator, and a filter, then into 1/2-inch mainline tubing. From the mainline, 1/4-inch micro-tubing or punched-in emitters branch off to individual plants.
A timer at the spigot turns the cycle on and off automatically. A common schedule is 30 to 60 minutes, two or three times per week, adjusted for soil and season.
Core components and parts you need
A working drip irrigation system needs seven core parts: a backflow preventer, a pressure regulator, a filter, mainline tubing, emitters or drippers, fittings and connectors, and a timer. Stakes and end caps round out a basic build. Each part has a job, and skipping the regulator or filter is the most common cause of early failure.
| Part | What it does | Typical cost (2026) |
|---|---|---|
| Backflow preventer | Stops dirty garden water from siphoning back into drinking water | $8 to $15 |
| Pressure regulator | Drops 40 to 60 PSI down to a safe 25 to 30 PSI | $8 to $20 |
| Filter (150 to 200 mesh) | Catches grit that would clog emitters | $8 to $18 |
| Mainline tubing (1/2 in) | Carries water through the garden | $0.30 to $0.50 per foot |
| Emitters / drippers | Meter water to each plant at a set GPH | $0.30 to $1.00 each |
| Fittings and connectors | Tees, elbows, couplers to shape the layout | $0.50 to $2.00 each |
| Timer | Automates watering days and run time | $25 to $90 |
| Stakes and end caps | Hold tubing in place, seal line ends | $0.20 to $0.50 each |
Order matters at the spigot: backflow preventer first, then regulator, then filter, then tubing. We break the full assembly into steps in our how to install drip irrigation guide.
How much a drip irrigation system costs
A drip irrigation system costs roughly $40 to $150 for a starter kit covering a small garden, or about $0.50 to $1.25 per linear foot of bed for a custom DIY build including emitters. Hiring a professional installer typically runs $300 to $1,200 for a residential yard, or about 3 to 6 times the DIY parts cost, depending on zones and complexity.
| Tier | Covers | Cost range |
|---|---|---|
| Basic kit | Up to about 50 to 75 ft, 1 bed or 10 to 20 containers | $30 to $60 |
| Mid kit | 2 to 4 raised beds, timer included | $70 to $130 |
| Custom DIY (per bed) | Buy tubing and emitters by the part | $0.50 to $1.25 / ft |
| Pro install | Multi-zone yard, buried mainline, smart timer | $300 to $1,200+ |
On water savings: drip systems use 30 to 50 percent less water than overhead sprinklers because they cut evaporation and runoff, according to figures cited by the U.S. EPA WaterSense program. For a household watering beds three times a week, that can offset a kit’s cost within one or two seasons in metered-water areas. We track adoption trends in our 2026 smart irrigation adoption report.
How to set up a drip irrigation system step by step
Setting up a drip irrigation system takes one afternoon for a typical bed and requires no glue or trenching. You assemble the head parts at the spigot, lay mainline tubing along your plants, punch in emitters, cap the ends, then flush and test. The only tools are a hole punch, scissors, and the fittings in your kit.
- Sketch your layout. Mark each plant and measure total tubing length so you buy enough.
- Assemble the head. Screw the backflow preventer onto the spigot, then the pressure regulator, then the filter, then a tubing adapter.
- Lay the mainline. Run 1/2-inch tubing along the bed; let it warm in the sun first so it bends easily. Anchor with stakes every 3 to 5 feet.
- Add emitters. Punch a hole at each plant and press in an emitter, or run 1/4-inch micro-tubing to reach pots and spaced plants.
- Cap and flush. Open the end, run water 60 seconds to clear debris, then close the end cap.
- Set the timer. Program watering days and run time, then check every emitter is dripping.
How many emitters you need and water per plant (sizing math)
Size your system by matching emitter flow to each plant’s water need and capping total flow below your supply limit. A general rule: small plants and containers get one 1 GPH emitter, shrubs get one or two 2 GPH emitters, and trees get three to four 2 GPH emitters spaced around the root zone. Add up all emitter GPH and keep the total under your zone’s maximum.
| Plant type | Emitters | Flow per plant |
|---|---|---|
| Container / potted | 1 emitter (0.5 to 1 GPH) | 0.5 to 1 GPH |
| Vegetable / annual | 1 emitter (1 GPH) | 1 GPH |
| Shrub | 1 to 2 emitters (2 GPH) | 2 to 4 GPH |
| Small tree | 3 to 4 emitters (2 GPH) | 6 to 8 GPH |
Zone limits: 1/2-inch mainline tubing safely carries about 200 to 240 GPH total, and a single run should stay under roughly 200 feet to keep pressure even. To find your zone capacity, divide your supply flow by emitter flow. Example: a 240 GPH supply running 1 GPH emitters supports about 200 to 240 plants on one zone. Split into multiple zones (each with its own valve or timer station) when you exceed that.
Run length math: on flat ground, keep 1/2-inch laterals under 200 feet and 1/4-inch micro-tubing under 30 feet to avoid pressure drop that starves the far emitters.
Drip irrigation vs sprinkler: which to choose
Drip irrigation beats sprinklers for beds, rows, and containers because it puts water at the roots with 30 to 50 percent less waste, while sprinklers win for broad turf coverage. Choose drip for gardens, hedges, and slopes; choose sprinklers for lawns where you need to wet a wide, continuous area evenly.
| Factor | Drip irrigation | Sprinkler |
|---|---|---|
| Water efficiency | 90 to 95% reaches roots | 50 to 75% (evaporation, drift) |
| Best for | Beds, rows, pots, shrubs | Lawns, large turf areas |
| Pressure needed | 10 to 30 PSI | 30 to 60 PSI |
| Weed and disease | Lower (dry foliage, dry gaps) | Higher (wet leaves, full wetting) |
| Install difficulty | DIY friendly, no trenching | Often needs trenching |
For shaded or hard-to-water spots, drip pairs well with the planting fixes in our guide on getting grass to grow in shade.
Choosing the right system for your layout
Match the system to the scenario, not the marketing. Kits suit single beds and beginners; custom builds suit irregular yards, slopes, or well water. The biggest selection mistakes are ignoring water pressure on well systems and buying inline emitter tubing for spaced plants that actually need point emitters.
| Scenario | Best setup |
|---|---|
| Raised beds | 1/4-in soaker line or inline emitter tubing every 6 to 12 in |
| Containers / pots | 1/4-in micro-tubing with one adjustable emitter per pot |
| Flower beds (mixed) | 1/2-in mainline with punch-in point emitters at each plant |
| Rows (vegetables) | Inline drip line with emitters at fixed spacing |
| Slopes | Pressure-compensating (PC) emitters so top and bottom flow evenly |
| Well / low pressure | Check PSI first; may skip regulator, add a booster pump if under 10 PSI |
Pressure-compensating emitters cost slightly more (about $0.60 to $1.00 each) but deliver the same GPH from 10 to 50 PSI, which is why they matter on slopes and long runs.
Maintenance, troubleshooting, and lifespan
A drip irrigation system lasts 10 to 15 years with simple upkeep, but clogged emitters and winter freeze are the top failure causes. Flush the lines two or three times a season, clean the filter monthly during watering season, and drain or blow out the system before the first freeze in cold climates. Most problems trace back to skipping the filter or leaving water in lines over winter.
- Clogged emitters: caused by grit or mineral scale. Clear by flushing the line, soaking emitters in vinegar, or replacing the emitter ($0.30 to $1.00). A 150 to 200 mesh filter prevents most clogs.
- Leaks at fittings: usually a loose or cracked connector. Push fittings fully home; replace split tubing ends.
- Uneven watering: far emitters dry means the run is too long or pressure is too low. Shorten the run or switch to PC emitters.
- Winterizing: remove the timer, backflow preventer, and filter indoors; open end caps and drain, or blow lines clear with low-pressure air (under 30 PSI).
- Algae or biofilm: opaque tubing and seasonal flushing keep it down; an end-of-line flush valve helps.
For more setup and seasonal how-tos, browse the HMNDP learn library.
Frequently Asked Questions
What is a drip irrigation system and how does it work?
A drip irrigation system is a low-pressure, low-volume setup that delivers water slowly to plant roots through tubing and emitters. Water passes a backflow preventer, pressure regulator, and filter, then flows through mainline tubing to emitters that drip 0.5 to 4 GPH per plant. The slow rate lets soil absorb every drop, cutting runoff and evaporation versus sprinklers.
How much does a drip irrigation system cost?
A starter kit costs about $30 to $130 depending on coverage, while a custom DIY build runs roughly $0.50 to $1.25 per linear foot including emitters. Hiring a professional typically costs $300 to $1,200 for a residential yard. Drip uses 30 to 50 percent less water than sprinklers, so kits often pay back within one or two seasons in metered-water areas.
What parts do I need for a drip irrigation system?
You need seven core parts: a backflow preventer, a pressure regulator, a filter, mainline tubing, emitters, fittings, and a timer, plus stakes and end caps. At the spigot, install them in order: backflow preventer, regulator, filter, then tubing. Skipping the filter or regulator is the most common cause of clogged emitters and blown tubing.
How do I set up a drip irrigation system step by step?
Sketch your layout, assemble the head parts at the spigot (backflow preventer, regulator, filter, adapter), lay 1/2-inch mainline tubing and stake it down, punch in an emitter at each plant, cap the line ends, then flush for 60 seconds and set the timer. It takes about an afternoon per bed and needs only a punch and scissors.
Is drip irrigation better than a sprinkler system?
Drip is better for garden beds, rows, shrubs, and containers because 90 to 95 percent of the water reaches roots with 30 to 50 percent less waste, and it keeps foliage dry to reduce disease. Sprinklers remain better for lawns and broad turf where you need to wet a wide, continuous area. Many yards use both, zoned separately.
Can I install a drip irrigation system myself?
Yes. Most home drip systems are designed for DIY install with no glue, no trenching, and only a hole punch and scissors. A single bed takes about an afternoon. Buy a kit for your first project, follow the spigot assembly order, flush before capping, and test every emitter. Custom multi-zone yards are where hiring a pro starts to make sense.
How many emitters do I need and how much water does each plant get?
Containers and vegetables usually get one 1 GPH emitter, shrubs one or two 2 GPH emitters, and small trees three to four 2 GPH emitters. Add all emitter GPH together and keep the total under your zone limit (about 200 to 240 GPH for 1/2-inch tubing). Divide supply flow by emitter flow to find how many plants one zone supports.
How do I maintain a drip system and prevent clogged emitters?
Run a 150 to 200 mesh filter, flush the lines two or three times a season, and clean the filter monthly during watering season. Clear clogged emitters by flushing, soaking in vinegar, or replacing them for under $1. In cold climates, drain or blow out lines under 30 PSI before the first freeze and store the timer, filter, and backflow preventer indoors.